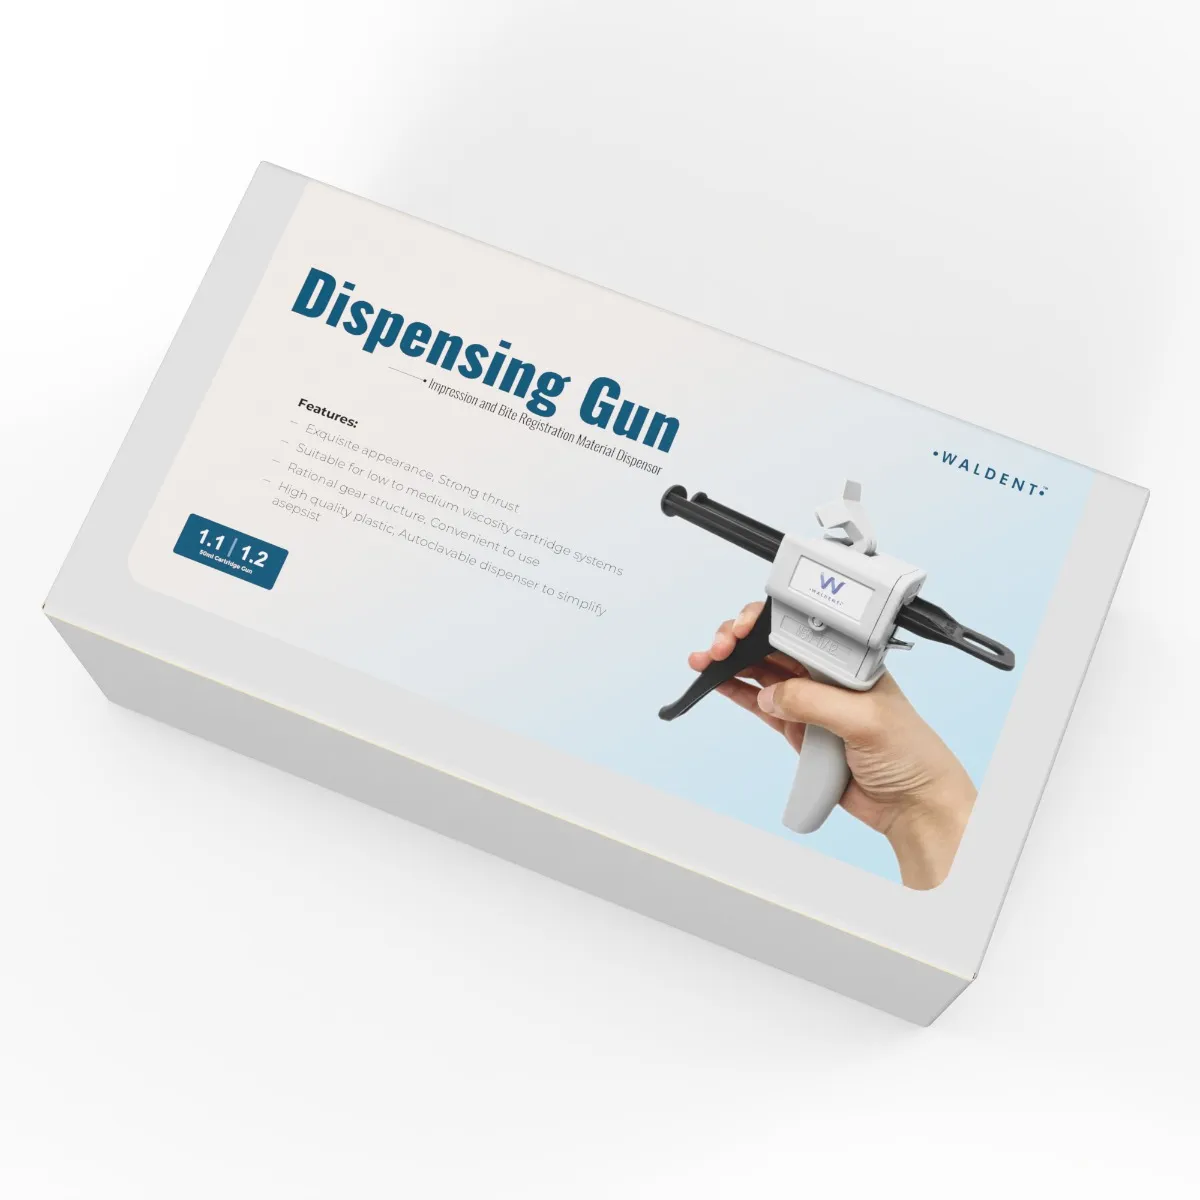
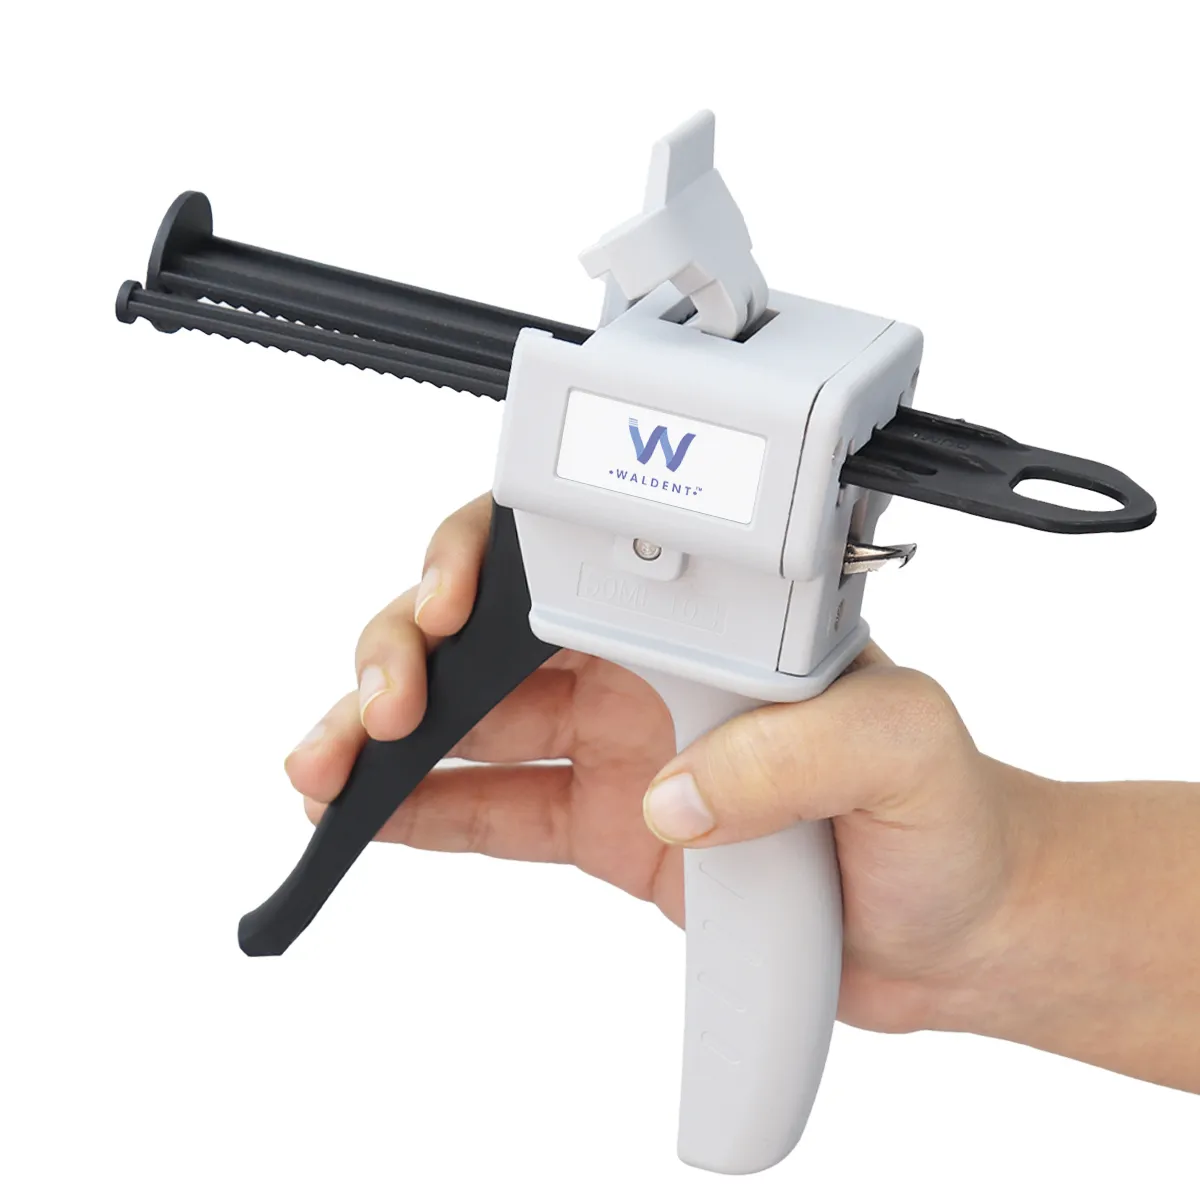
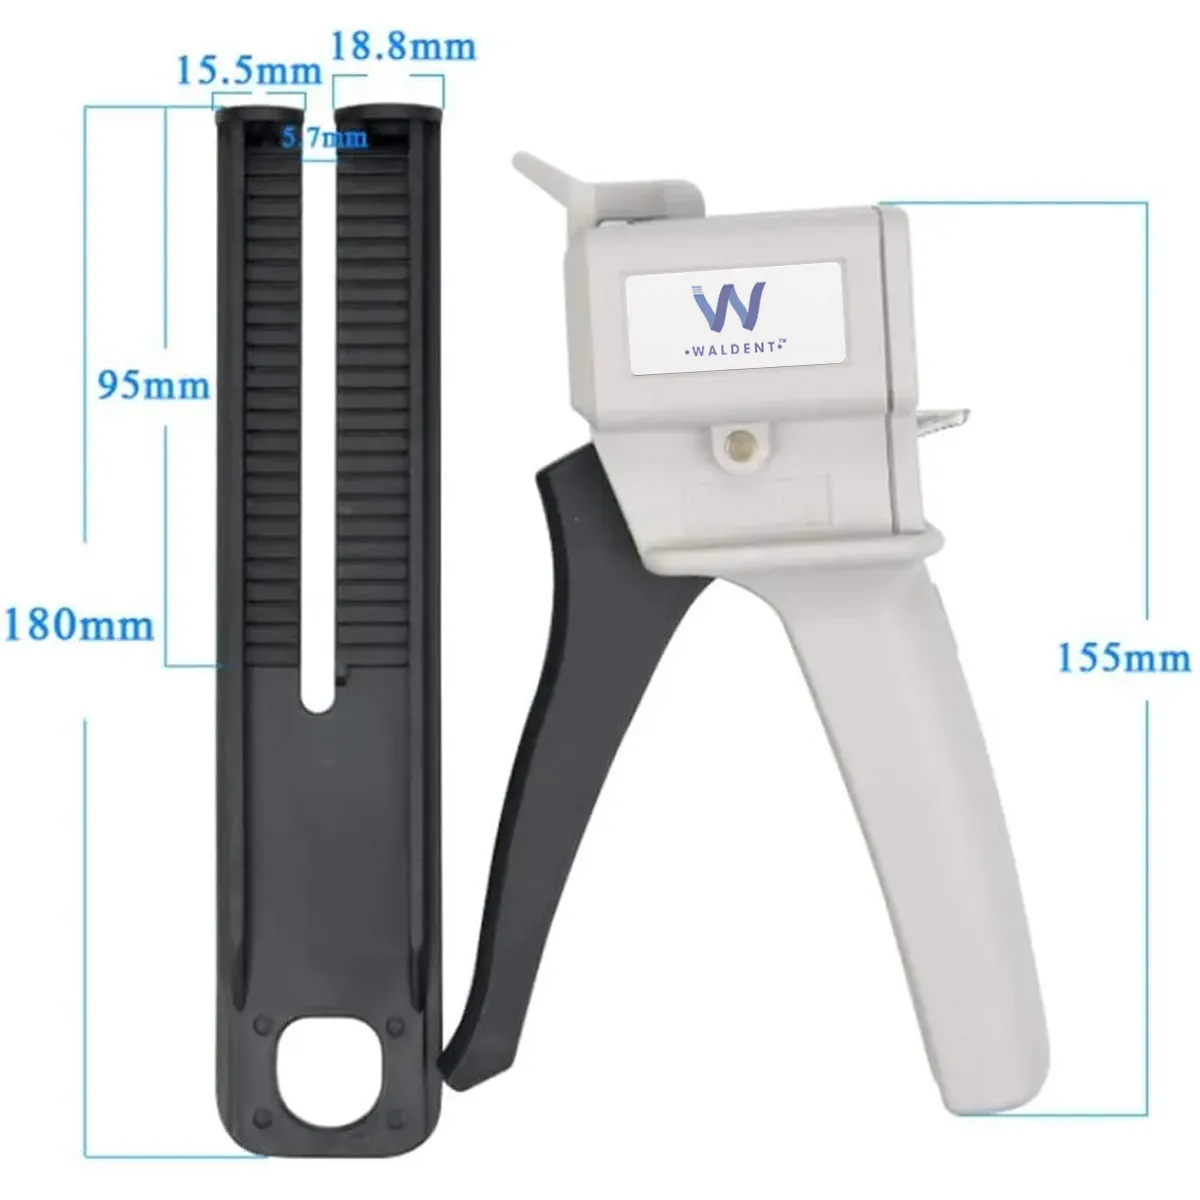
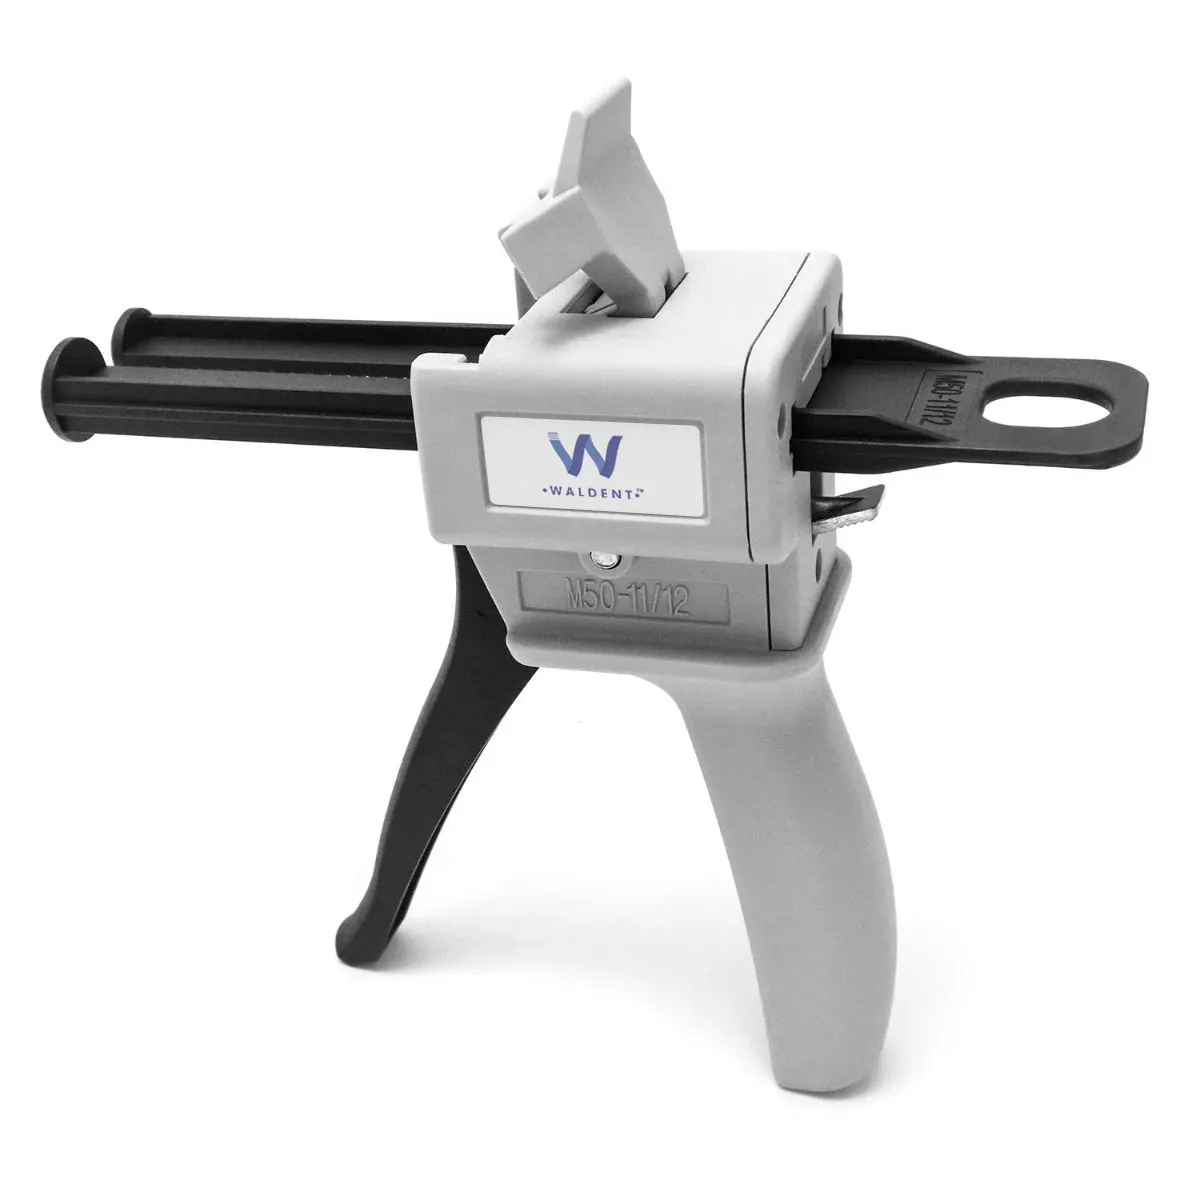
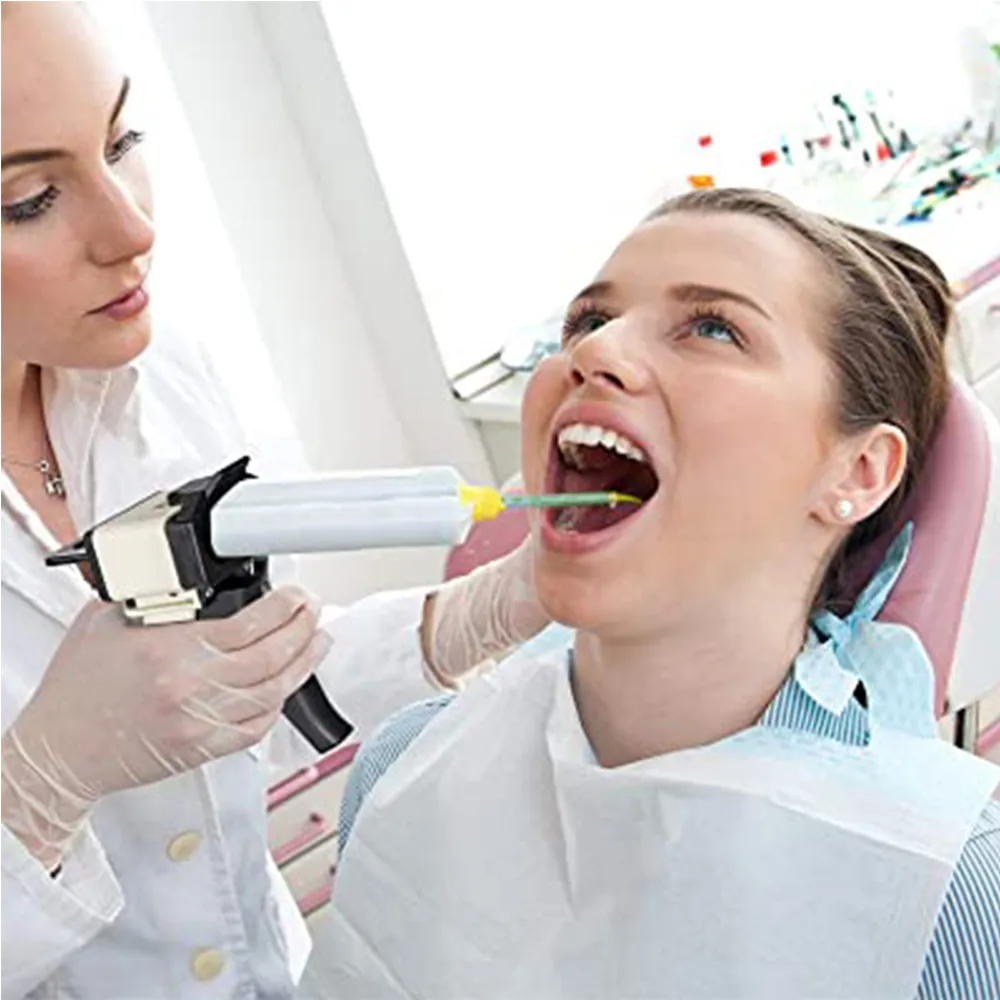
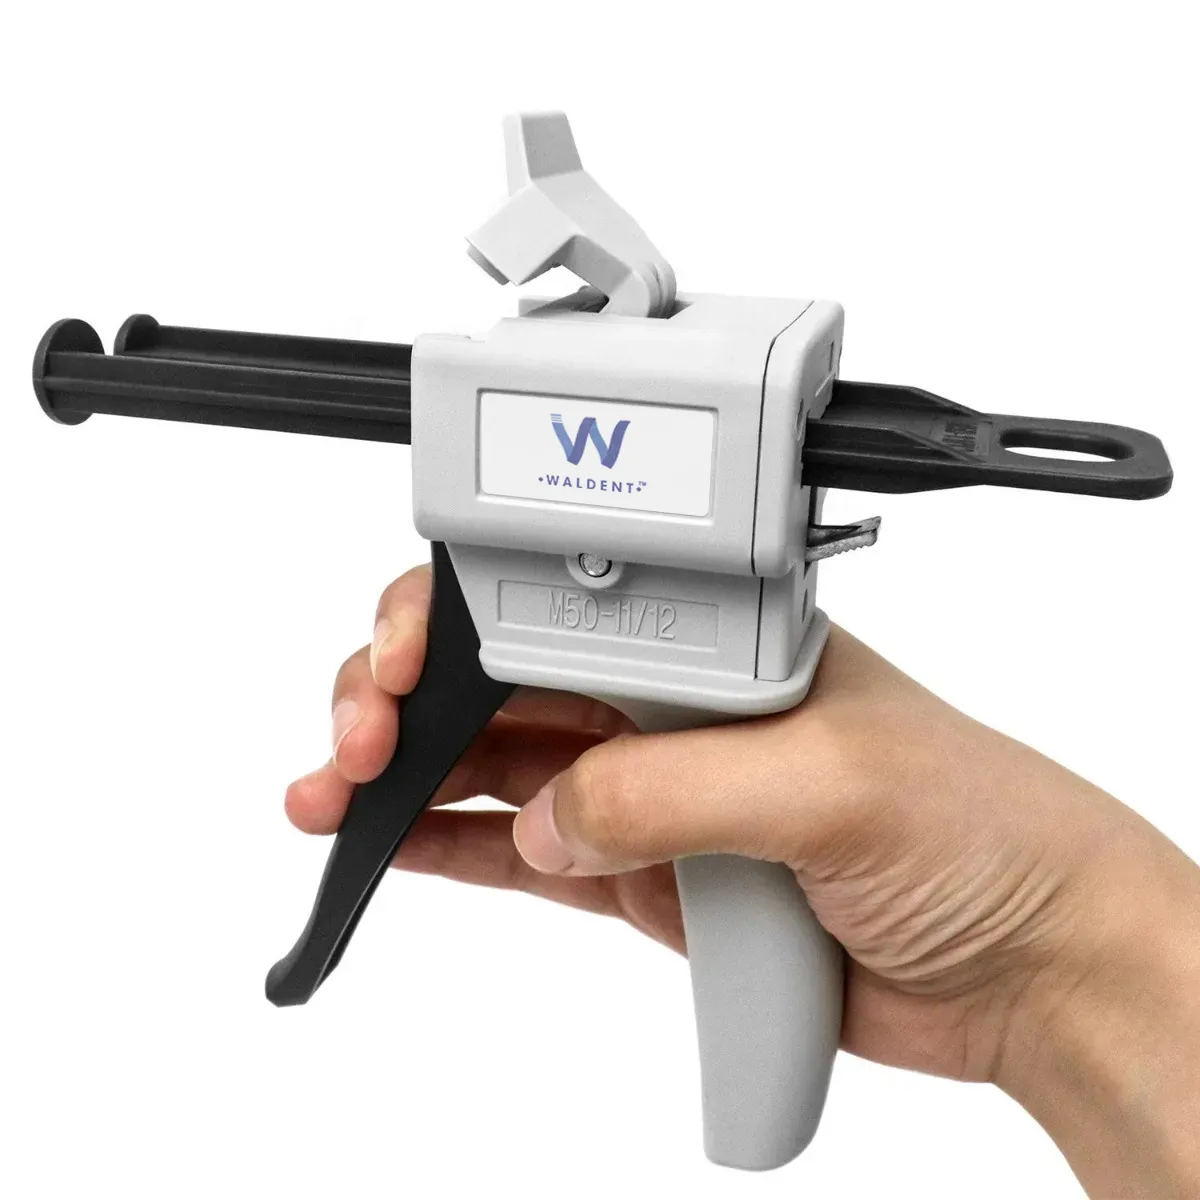
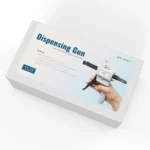
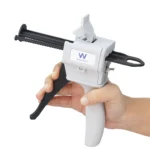
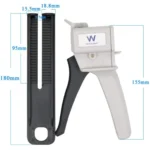
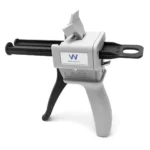
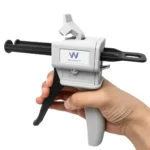
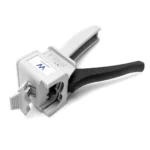
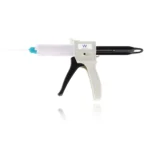
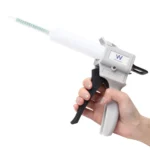
Dispensing gun works perfectly to dispense dental adhesive, silicones, and dental impression material for perfect registration of bite. This sturdy device is made of high-quality plastic and consists of a release lever with a plunger, which coordinates simultaneously to load and remove the cartridges dispense the required amount of cartridge type vinyl polysiloxane impression and reline materials
- Easy mixing and dispensing of the impression material
- Excellent quality uniform smooth mix
- Suitable for all cartridges.
Ratio
- 4:1/10:1- The impression gun is used to discharge the crown & bridge materials from cartridges.
- 1:1/2:1- The impression gun is used to discharge the impression materials and bite registration materials from cartridges.
Direction of use
- Lift the release lever of the dispenser and pull the piston plunger all the way back into the dispenser.
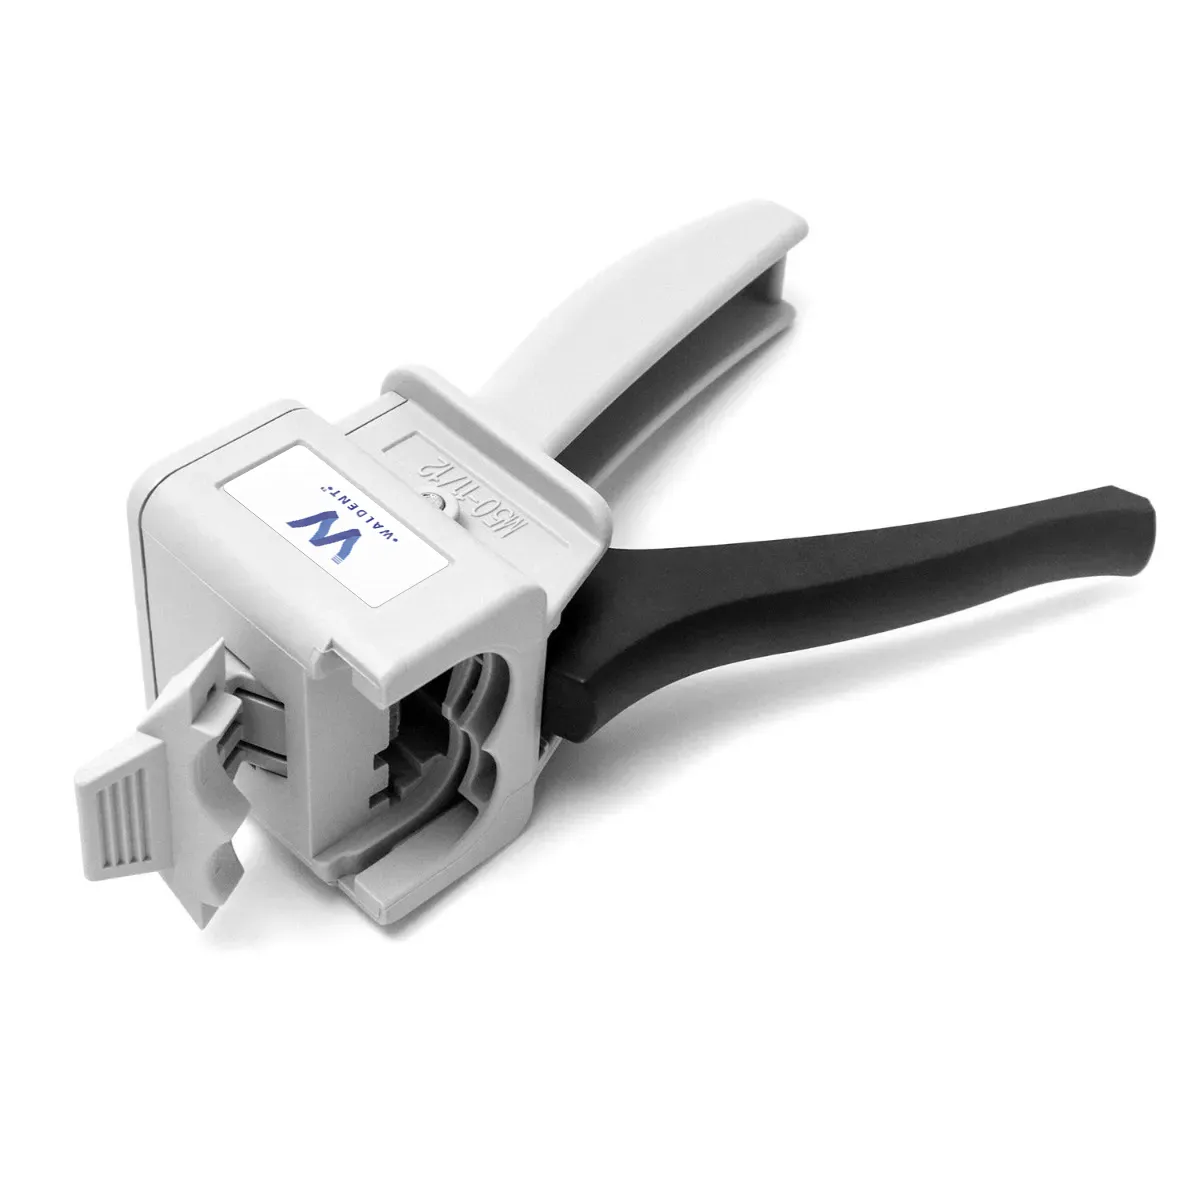
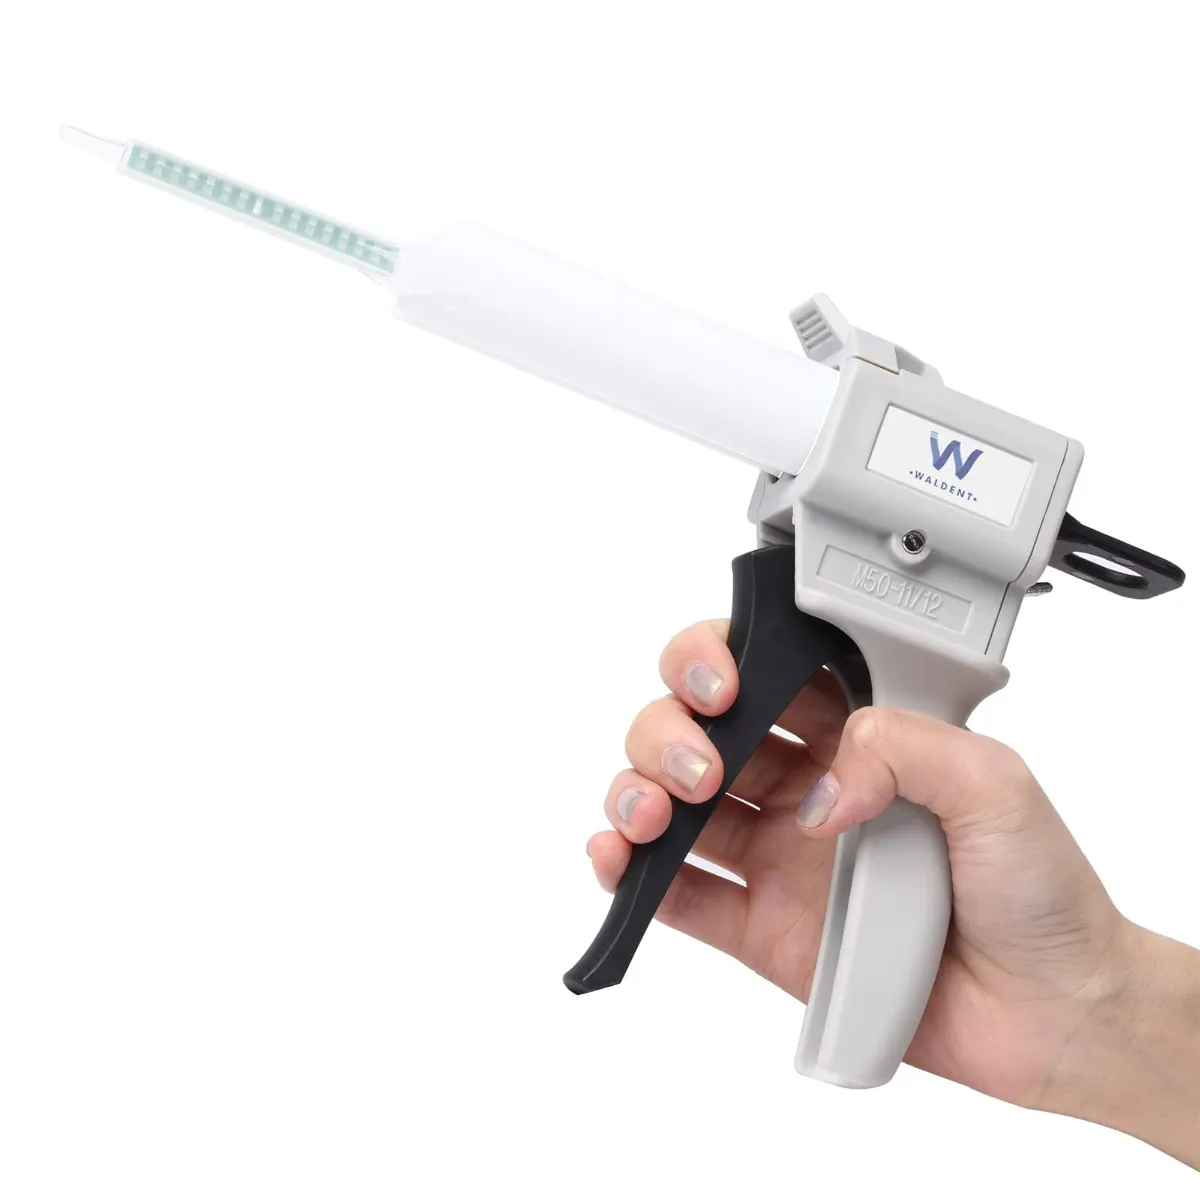
- Lift the cartridge holder of the dispenser and load the cartridge ensuring that the V-shaped notch on the flange of the cartridge is facing down. Push down the cartridge holder to fix the cartridge.
- Lift the release lever and push the piston plunger forward until it engages into the cartridge.
- Remove the cartridge cap by rotating 1/4 turn anti-clockwise, tilt the cap downward and peel it away from the cartridge. Gently squeeze the dispenser handle to extrude a small amount of material from the two openings at the end of the cartridge. Make sure that base and catalyst come out evenly.
- Align the V-shaped notch on the rim of MIXING TIP II to the V-shaped notch between the cartridge barrels. Push firmly to attach the mixing tip. Then, rotate the colored collar of the mixing tip 1/4 turn clockwise to the end of the cartridge. The dispenser is now ready for use.
- Squeeze the handle several times to extrude the material. After use, do not remove the MIXING TIP II as this will become the storage cap until the next use. When replacing the MIXING TIP II, rotate the collar on the mixing tip 1/4 turn anti-clockwise to align the V-shaped notch on the cartridge. Tilt the mixing tip downward and peel it away from the cartridge.
- Remove and replace the old mixing tip immediately prior to the next use. Before attaching a new tip, gently extrude a small amount of material to ensure that base and catalyst are flowing evenly from both openings. If the materials fail to extrude, remove any hardened materials on the end of the cartridge.
- To replace the cartridge, lift the release lever and retract the plunger fully. Remove the empty cartridge by lifting the cartridge holder and loading a new one into the dispenser.
Packaging
Waldent Dispensing Gun 4:1/10:1
- 1 x Dispensing Gun
Waldent Dispensing Gun 1:1/2:1
- 1 x Dispensing Gun




Reviews
There are no reviews yet.